
**Follow our adventures and have the latest
sent directly to your email!!
Sign up for to the right!**
As I briefly mentioned in my last post.
sent directly to your email!!
Sign up for to the right!**
As I briefly mentioned in my last post.
My oldest boy child,
asked for a simple
Skittles Cake
for his birthday.
He even told me how to make it.
(thanks kiddo)
He said all I had to do was make a circle cake
and put an S on it.
Easy enough.
Not a chance!
So I jumped on-line to look up ideas.
And finally decided that I was going to do
the
INSIDE
Skittles colored
AND
Skittles FLAVORED!!

What?
How?
Here is how!
You need:
* 2 boxed cake mixes
(+ ingredients listed on back of box to make these)
* 1 large bag of Skittles
* 1 large tub of Cool Whip
Step 1: Preparing the Skittle flavors
* Have your kids sort out the Skittles by color.
I didn't get a picture of this,
but they all worked so well together!
And didn't eat TOO many!
*Turn each flavor/color of Skittles
into somewhat of a simple syrup.
into somewhat of a simple syrup.
I measured just over 1/3 c of
each color of Skittles
each color of Skittles
then melted them in a sauce pan in 1/3 c of water.

The color comes off first...

Then it turns into the Skittle flavored simple syrup.
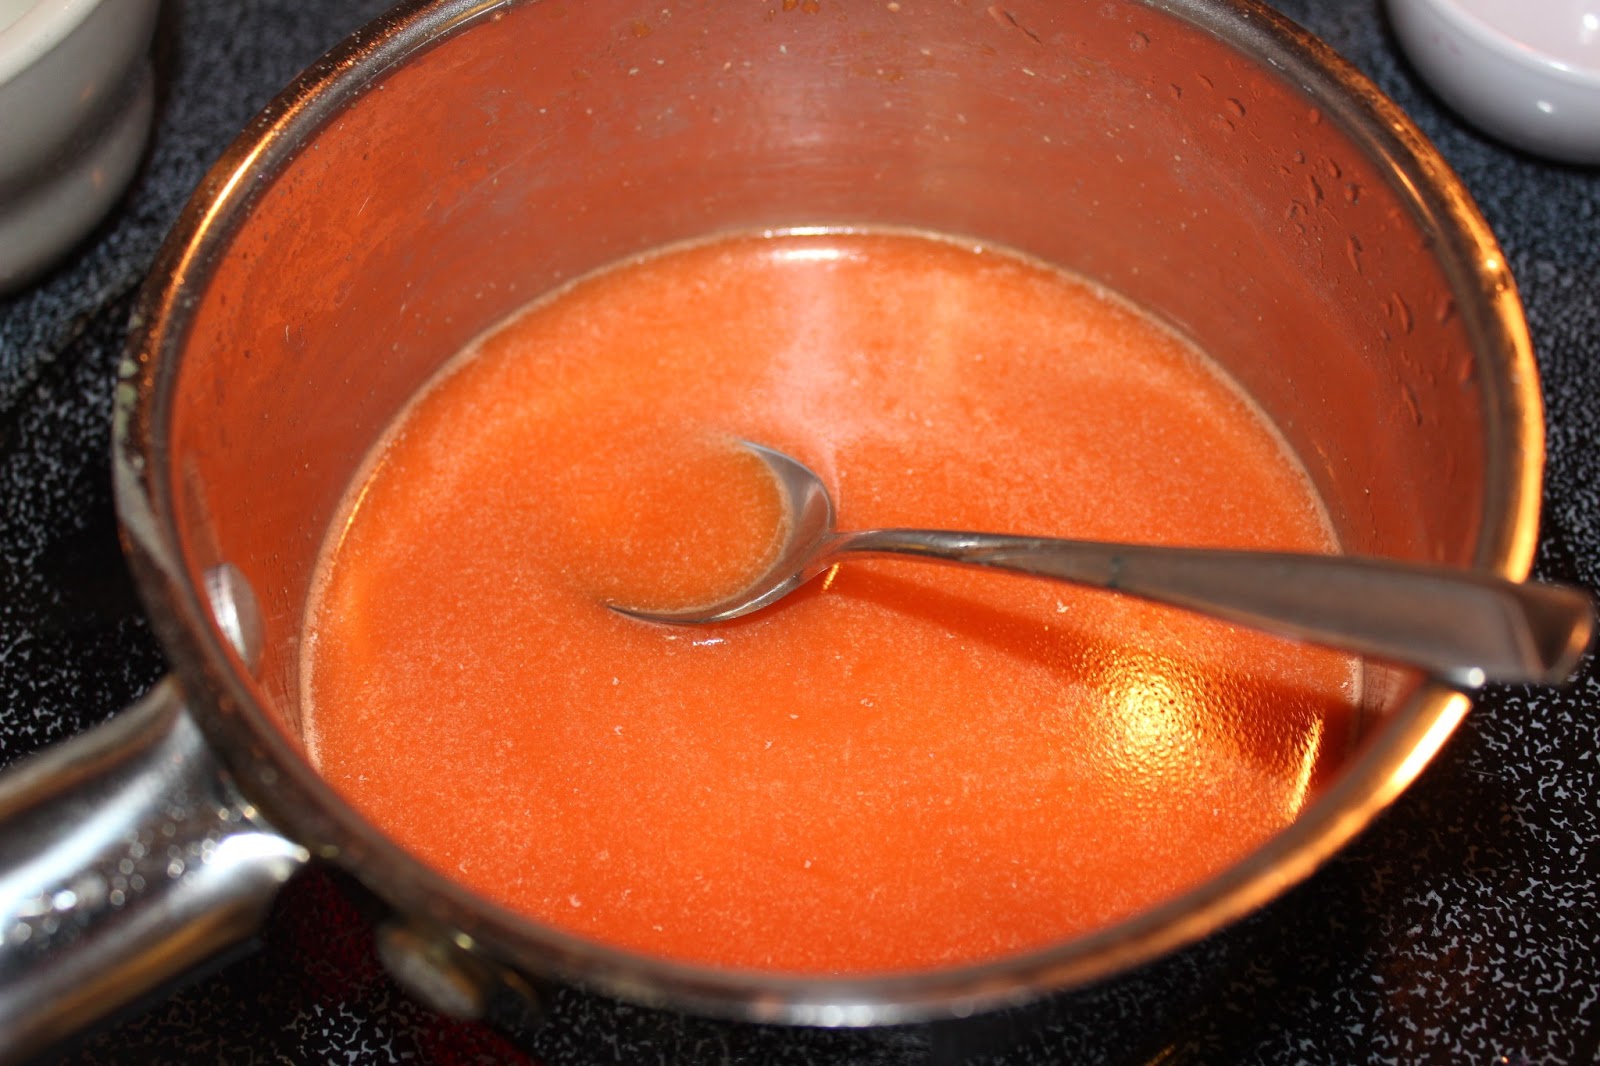
Pour the liquid into small glass bowls
to allow it to cool,
while you work on the other colors.
Repeat process with each color.

You will notice,
that there are no blue Skittles.
So I just added blue food coloring to
the water for the blue layer.
Step 2: Making the Cakes!
Prepare your cake mix using the instructions on the box,
one mix at a time to keep it more manageable.
OMITTING THE WATER!
Follow instructions on the box,
but, again,
DO NOT add the water!
It will be quite thicker than normal.

There will be approximately 3 c of batter.
Put 1 c of batter in 3 different bowls.
*Quick Tip - coat the inside of your measuring cup
with cooking spray and the batter will slide right out!


Add 1/3 c of your flavored water to each bowl of batter.
Here is the lime flavored batter.

I wanted to build my cake in the order of the colors of the rainbow:
top to bottom: red, orange, yellow, green, blue, purple.
I cooked 2 layers at a time in 9" pans.
And I chose to start with the bottom two colors/flavors,
so I could start assembling the cake as soon as the layers cooled.
My first two pans in the oven were the purple and blue layers.

While they were cooking,
I prepared the batter for the next 2 layers (green & yellow),
(which means I had to make my second cake mix too).
When the cakes came out of the oven,
I allowed them to cool briefly inside,
flipped them out of their pans on to a cooling rack,
then threw the cakes into the freezer.
I wasn't sitting around forever waiting for them to cool
so I could put the Cool Whip on them!
No thanks!
Then I prepared the final 2 layers (red & orange).
This is what it looked like in the middle of
stirring in the flavored water.

And fully incorporated:

And into the pan!

I left the cakes in the freezer until I needed the cooling rack again
(for the next batch in the oven).
Then I started assembling the cake!
I leveled off the layers before assembly.
Bottom layer is purple,
then the blue layer.

Then all the other layers followed.
so bottom up:
purple,
blue.
green,
yellow,
orange,
and
red.
With a layer of Cool Whip between each cake.
I chose to go with Cool Whip as the filling and frosting,
because I felt there was really enough sugar in the cake
and the light Cool Whip might
go better with the "fruitiness" of the cake,
instead of the heavy buttercream.

But I couldn't just leave the outside plain...
so I had to add a little interest.

right before we served the cake,
otherwise the color from the Skittles
would have bled onto the Cool Whip.
I didn't want that.
I used the reserved Skittles on the outside.

And instead of the requested big S on the top,
I chose a big R,
for the birthday boy's name!

I was so excited about cutting into the cake!

And
LOVE
LOVE
LOVE
the reactions I got from my family!!
Especially the birthday boy!
After all, his opinion is the ultimate one, right?

This face is worth the trouble!

Awesome job and a delicious cake!
ReplyDeletei love this cake it look good
DeleteThank you Ashanti! I enjoy making crazy things for my kids!! :)
DeleteThis sounds yum! Do you think that the same could be done with jolly ranchers? (either chewy or hard candies)
ReplyDeleteI have been pondering this and doing a little research and I am not sure how well this would work with the hard candies. It should work ok with the chewy though. All I can recommend is to try it. Try the simple syrup as above with the hard candies and then let it cool and see how the syrup reacts after it has cooled. Keep me posted if you try it!! I would love to hear how it works out!!! Good luck!
DeleteWow, thank you for such a great recipe!! I will be doing this, this week our little guy is turning 2 and he LOVES skittles!!!
ReplyDeleteThank you so much!! Please stop back by and tell me how it turned out!!!
DeleteI am making this for my daughter today. She is so excited! My cake mix calls for 1/2 cup water & 7 Tbsp butter. The simple syrup looks to be 2/3 cup. Should I reduce the amount of butter or simple syrup?
ReplyDeleteReduce the simple syrup. Good luck!!! Let me know how it turns out!!!!
DeleteI love skittles I hope when I turn sixteen next November I will get to have a skittles cake but with it looking like a bag filled with them but mixture with cake and skittles thanks for the idea appreciate it
ReplyDeleteI made this last night and my cakes fell flat and spongy? I make cakes/cupcakes and haven't had this issue before. Possibly overmixing or simple syrup changing consistency? The layers taste good but they are very spongy and dense. I followed all steps to a T. Convection oven at 345°, any suggestions bc I love this cake ;-)
ReplyDelete